A few weeks back the hubby and I popped across the border to attend the “Great American Garage Sale” just outside Buffalo, New York. With visions of “Flea Market Flip” episodes dancing in my head, I anticipated finding a unique vintage treasure, just waiting to be transformed.
It was a fun event which took us about three hours to go through. In the end I came home with a big metal road sign of a black arrow on a yellow background (not sure what I’m going to do with it yet), and this wooden shipping crate which I managed to pick up for $10 USD.
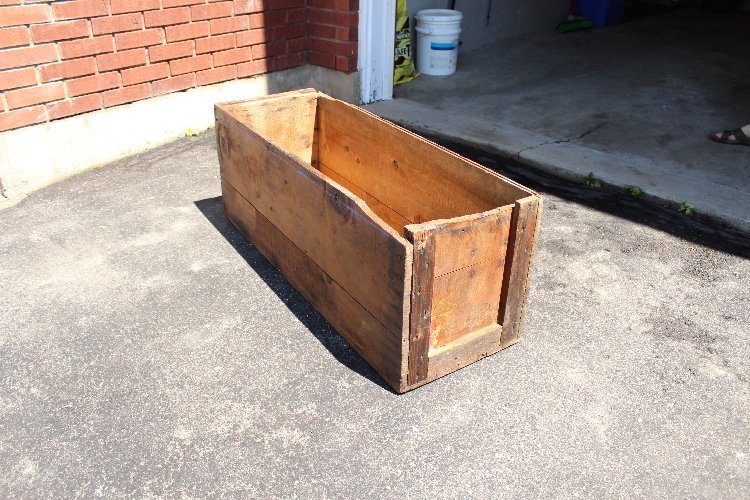
After a bit of deliberation I decided this little gem would become a sideboard/console table.
The first step was to even out the top edges, which I employed the help of my husband to do with his circular saw. Despite having to slice through a couple rusty nails, it worked out pretty well.
Next, I lightly sanded the interior, just to get rid of the worst of the roughness.
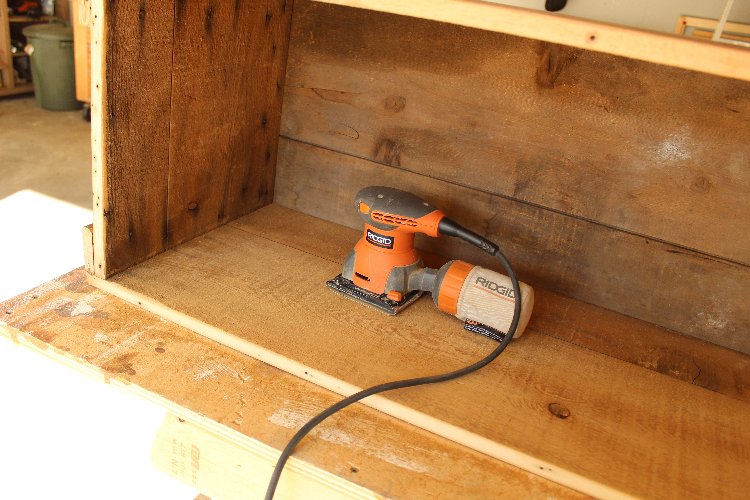
As I intended to finish the inside with a rustic, distressed paint treatment, I wasn’t too concerned about getting it perfect.
I mixed up a bunch of random craft paint that I had on hand until I liked the look of the resulting turquoise. This was my first coat of paint.
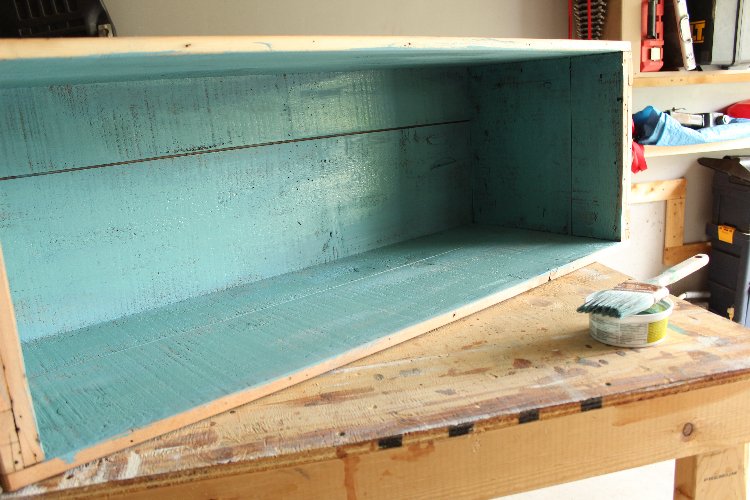
After this coat dried I mixed in a bit of white paint, and roughly textured in some lighter-coloured strokes.
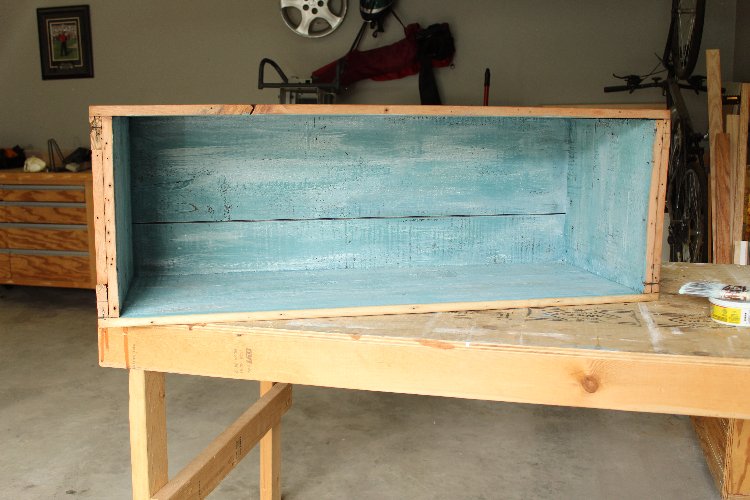
After finishing, I decided it was just a little too light, and so I finished by mixing in some slightly darker tones as well, until I was happy with the result.

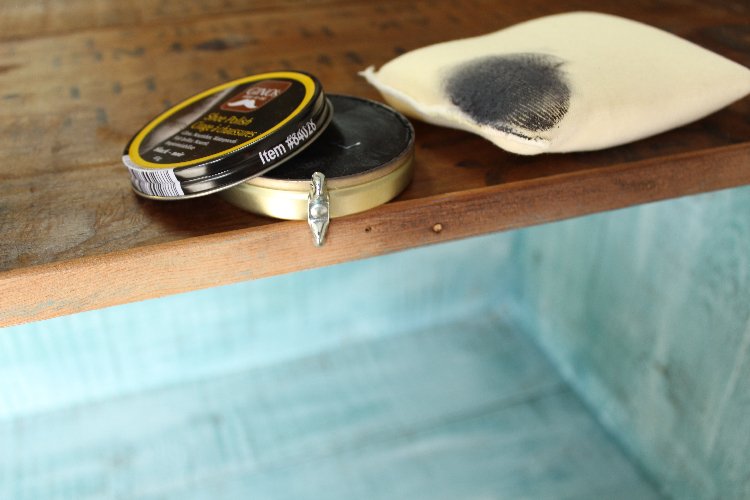
The freshly sawed edges of the box were too light and didn’t match the aged look of the exterior wood. Rather than mess around with staining them, I decided just to work in some dark brown and black shoe polish, which definitely did the trick.
Two coats of a water-based urethane sealed everything in and provided a protective coating.
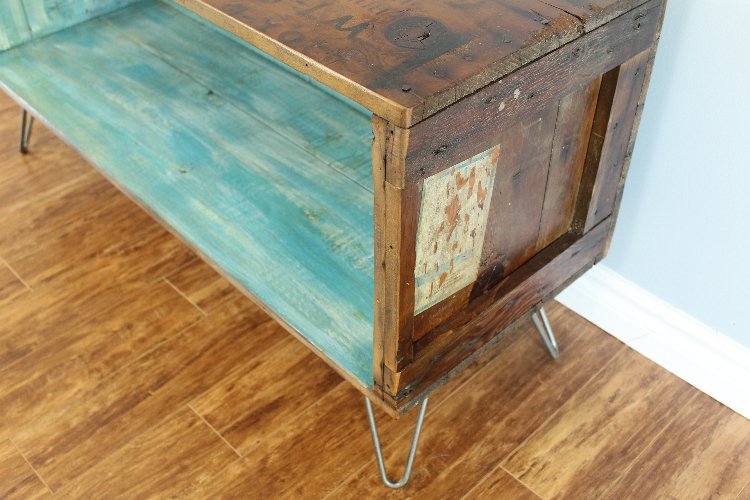
My biggest expense of the project was adding a set of four 8-inch hairpin legs ($40 CAD from Rusty Design Canada), but it was the most important element in giving my console the mid-century modern look I was hoping to achieve.
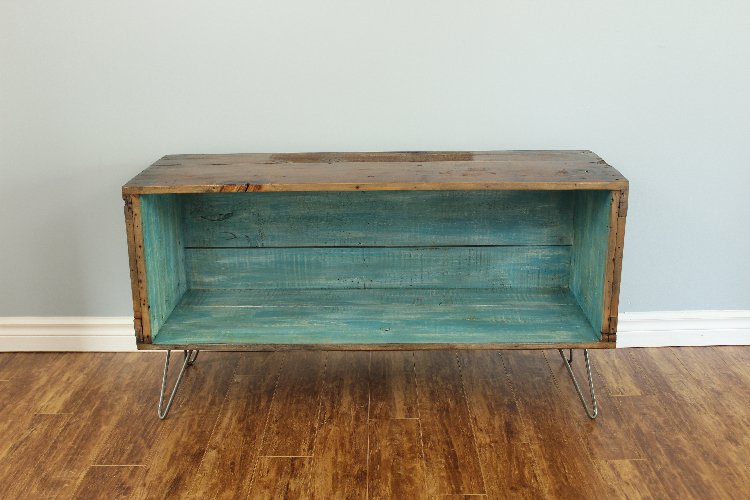
I was happy not to have to do anything with the exterior of the crate, other than the sealer, since I already really liked the rustic features and weathered look of the wood.
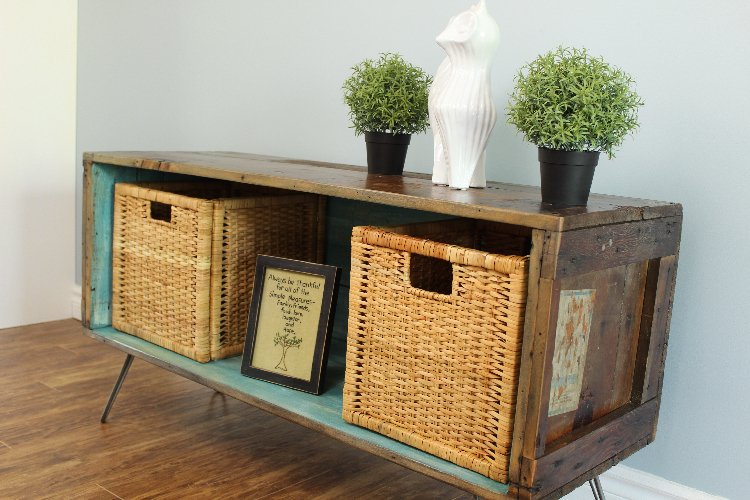
Some of my favourite elements were the somewhat still legible shipping instructions on one side, which I decided to make the top surface…

… and a disintegrating shipping label on one end, which is now sealed in and protected.
Nothing left to do but stage it. Rattan baskets from Ikea were the perfect fit!
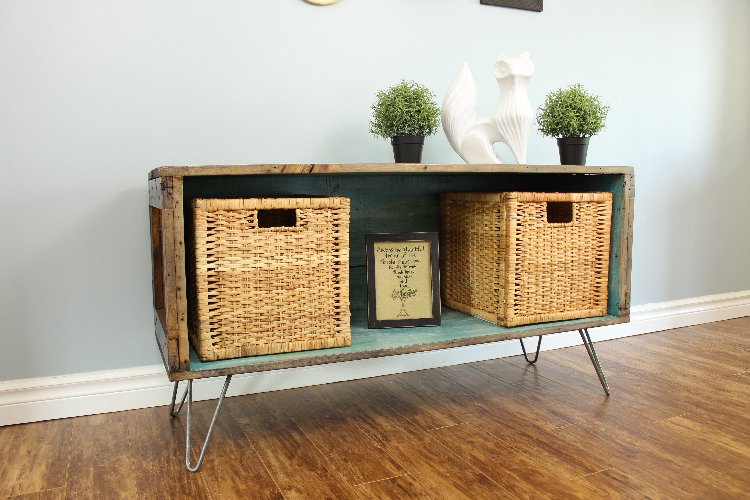


But the best decoration I own—the prettiest and sweetest—definitely upstages all others, and makes my new shipping crate sideboard look right at home.
Behold, Buttons the Cat, as he takes his place as ruler of all he touches!